Add a command

A command is a single function, which will be called (invoked) by someone with the expectation to get a result back.
Create the files
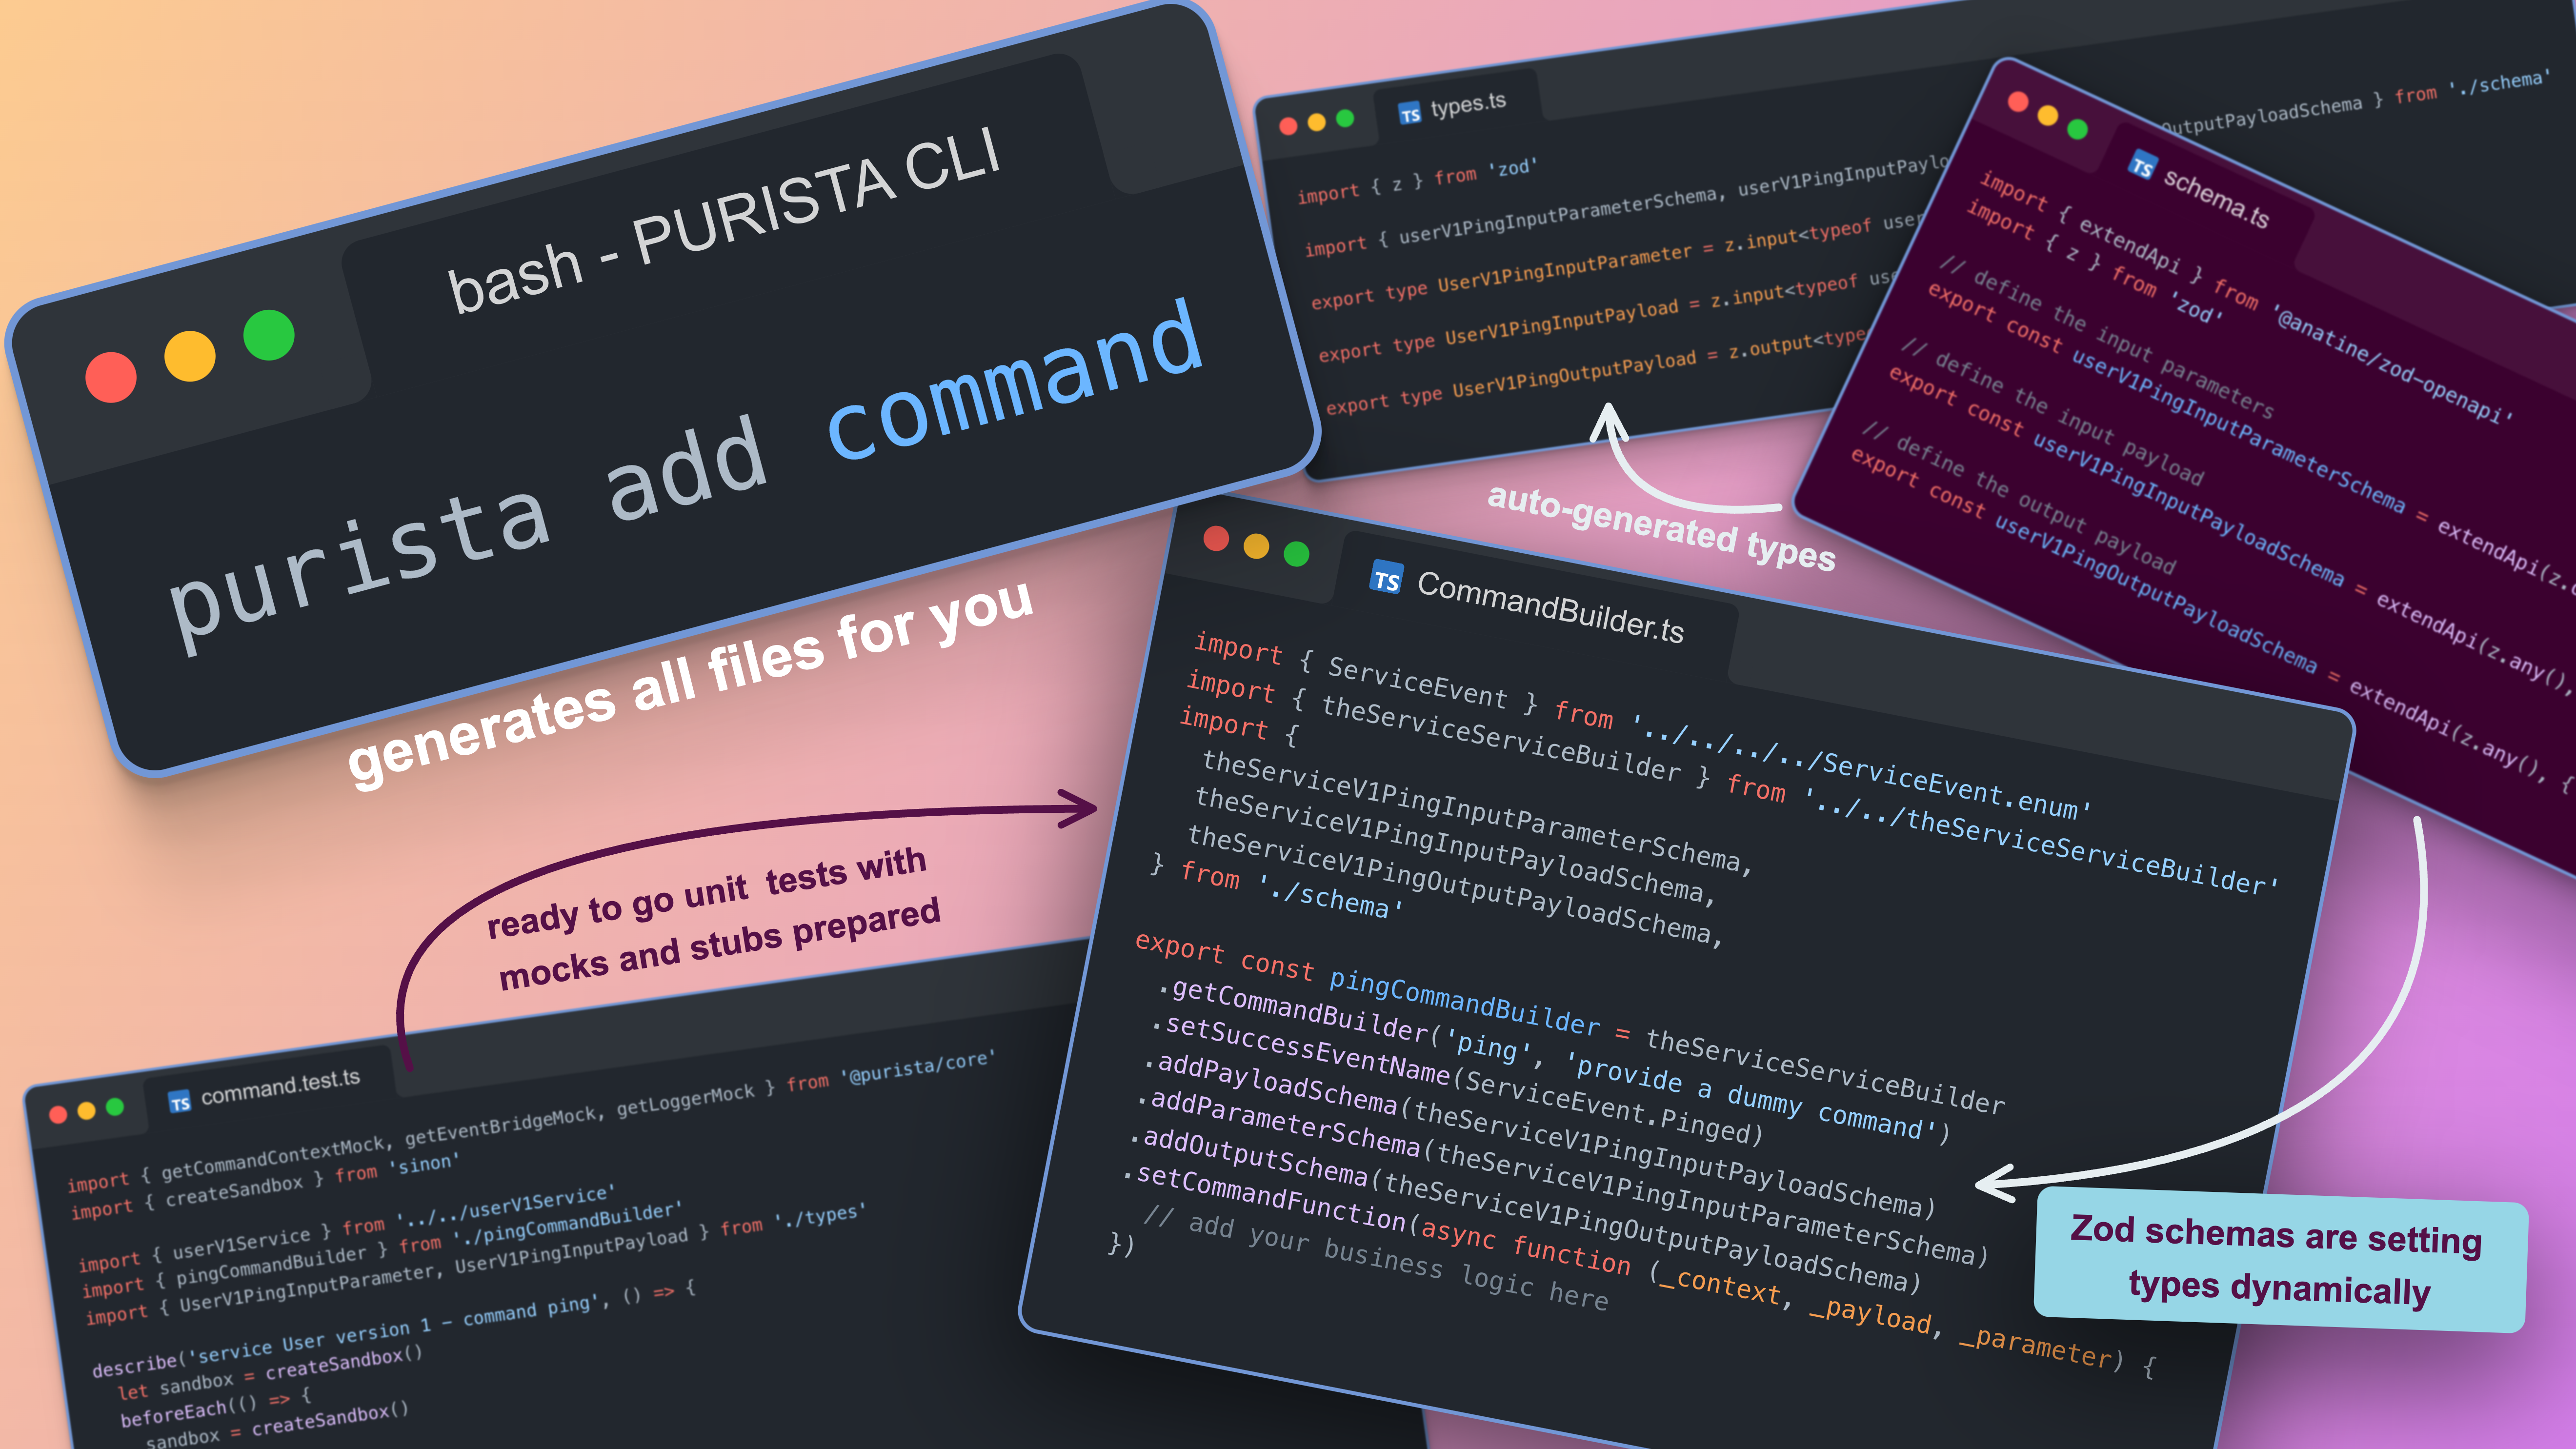
Commands can be added to services. The most straightforward way for adding a command is the usage of the PURISTA CLI.
purista add commandThe CLI will guide you through all steps and will create all files for you. In the first step, you will be asked for the name of the new command. We will start with signUp.
? What is the name of the new command sign upAs you can see, it is possible to enter the name of the command in a very natural way. The CLI tool will handle the naming conventions for you. Command names will be camel-case.
Try to use a command name, which is:
- global unique (a command in different service versions should have the same name)
- short, but speaking & understandable
- use simple present, like
addNewFeatureorgetUser - try to standard prefixes, like
createBankAccountorupdateUserProfile
After you have confirmed your input by pressing the enter key, you will be asked for a short description of the command.
? What is the matter of command "sign up" registers a new user at our productHere, you should enter some short, general description, which will be used for some human-facing documentation. So, please provide here something like: registers a new user at our product.
The following step is a bit more interesting, as you will be asked for the response event name. A response to a command can be marked as an event, which can be subscribed to. You can leave the field blank and simply press enter if you do not want to add an event name.
For example, we want to add an event name.
? Name of response event newUserRegisteredThe CLI will not handle any naming conventions here. So you are free to choose. The event will be automatically added as a new enum entry in src/service/ServiceEvent.enum.ts. This new enum entry will be used in the generated source code files.
Try use an event name, which is:
- global unique (a command in different service versions should have the same event name)
- short, but speaking & understandable
- should not contain a version in the name
- try to describe what happened, when the command execution was successfully
- use simple past, like
newFeatureAddedoruserDeleted
In the next step, you will see a service selection. Use the arrow keys to select the service (and version), on which the new command should be registered. In our example, choose User .
? select a service user 1Confirm your choice by pressing the enter key.
Now, the files will be created, the event name will be added as a new enum entry and the command will be added to the command list of the service.
A folder for the new command is created - in our example it is src/service/user/v1/command/signUp. Here, you can find, all files relating to this single command function.
Command builder file
The main file for a command is the command builder file - signUpCommandBuilder.ts in our example. As you can see, the CLI tool already added some configuration properties - the ones you normally always have for a command.
The implementation of the business logic should be done in this file.
import { ServiceEvent } from '../../../../ServiceEvent.enum'
import { userV1ServiceBuilder } from '../../userV1ServiceBuilder'
import {
  userV1SignUpInputParameterSchema,
  userV1SignUpInputPayloadSchema,
  userV1SignUpOutputPayloadSchema,
} from './schema'

export const signUpCommandBuilder = userV1ServiceBuilder
  // command name and description
  .getCommandBuilder('signUp', 'registers a new user at our product')
  // adding of the response event name
  .setSuccessEventName(ServiceEvent.NewUserRegistered)
  .addPayloadSchema(userV1SignUpInputPayloadSchema)
  .addParameterSchema(userV1SignUpInputParameterSchema)
  .addOutputSchema(userV1SignUpOutputPayloadSchema)
  // adding the implementation of the command
  .setCommandFunction(async function (_context, _payload, _parameter) {
    // add your business logic here
  })
More on command builder usage:
Schema file
The schema file contains the schemas for input and output validation.
import { extendApi } from '@purista/core'
import { z } from 'zod/v4'

// define the input parameters
export const userV1SignUpInputParameterSchema = extendApi(z.object({}), { title: 'sign up input parameter schema' })

// define the input payload
export const userV1SignUpInputPayloadSchema = extendApi(z.unknown(), { title: 'sign up input payload schema' })

// define the output payload
export const userV1SignUpOutputPayloadSchema = extendApi(z.void(), { title: 'sign up output payload schema' })
The core package contains some helper here, which are based on the package @anatine/zod-openapi. This gives the opportunity to enrich the schema with more information and details, which can then be used to improve generated OpenAPI/AsyncAPI documentation. Because of this, you can add human understandable titles, descriptions, examples and so on. It is not required, but recommended, to use this package. You can also use plain zod.
Type file
There is also a file types.ts, which contains types, that are generated out of the input and output schemas defined in schema.ts. The types are not used by PURISTA or one of the builders. The types can be used by the developers.
import { z } from 'zod/v4'

import {
  userV1SignUpInputParameterSchema,
  userV1SignUpInputPayloadSchema,
  userV1SignUpOutputPayloadSchema,
} from './schema'

export type UserV1SignUpInputParameter = z.input<typeof userV1SignUpInputParameterSchema>

export type UserV1SignUpInputPayload = z.input<typeof userV1SignUpInputPayloadSchema>

export type UserV1SignUpOutputPayload = z.output<typeof userV1SignUpOutputPayloadSchema>
Test file
The file with the .test.ts extension, is the unit test for the command implementation. It contains a real test, which can then be extended and aligned to your actual implementation.
import { getEventBridgeMock, getLoggerMock, safeBind } from '@purista/core'
import { createSandbox } from 'sinon'

import { userV1Service } from '../../userV1Service'
import { signUpCommandBuilder } from './signUpCommandBuilder'

describe('service User version 1 - command signUp', () => {
  let sandbox = createSandbox()
  beforeEach(() => {
    sandbox = createSandbox()
  })

  afterEach(() => {
    sandbox.restore()
  })

  test('does not throw', async () => {
    const service = await userV1Service.getInstance(getEventBridgeMock(sandbox).mock, { logger: getLoggerMock(sandbox).mock })

    const signUp = safeBind(signUpCommandBuilder.getCommandFunction(), service)

    const payload: Parameters<typeof signUp>[1] = {}

    const parameter: Parameters<typeof signUp>[2] = {}

    const context = signUpCommandBuilder.getCommandContextMock({ payload, parameter, sandbox })

    const result = await signUp(context.mock, payload, parameter)

    expect(result).toBeUndefined()
  })
})
You can learn more about unit testing a command here: Unit test a command
